CSM101
-
Posts
563 -
Joined
-
Last visited
-
Days Won
10
Everything posted by CSM101
-
I made a new tutorial "Sharpen a photo". Back to, where it belongs: "Help us improve our photos" Uwe G.
-
Sharpen a photo Uwe G. Sharpen a photo.pdf
-
Congratulations!!! You made it! Four things I always see, that can easily be corrected. White balance, too dark, not sharp enough and making something unreadable readable. Two points I already explained. Maybe we should move back to improving our photos and I write two more tutorials if you want. Have a nice evening Uwe G. PS: Your version is better than mine.
-
Seems to be a good idea. I have the feeling, that we see a NMB Chainsaw Massacre in the near future. Uwe G.
-
Morning Hoanh, Hope, this is a better screenshot now. And for the "real" colour there is something called "colour correction with curves". Sounds complicated and is complicated. But after a few hundert photos you can do that in less than 10 minutes. Greetings Uwe G.

-
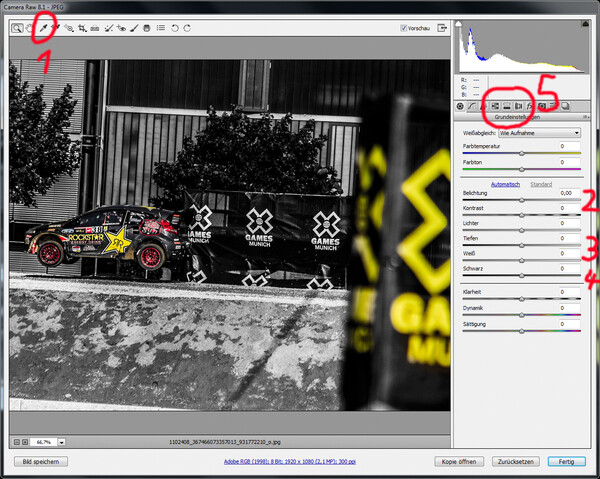
Okay, the trick is like always: there is no trick. The photo of Hoanh is already good enough. But the digital process with Photoshop is mostly a mystery. Let´s start then. First of all: every photo I work with will be opened in Adobe Camera Raw. Camera RAW is a RAW developer and gives you the possibility to make the hard part first. It is included in Photoshop CS or Elements. Open as …and then you choose Camera Raw. If you use a Canon Camera, then I recommend DPP or any other RAW Converter. It doesn´t matter if it is a Jpeg, a Bitmap, a TIFF or a RAW-file. Make the most obvious things with a RAW converter. Down you see Camera Raw and a different photo. With Hoanh´s photo I use 1 for the white balance. First the pipette and then click somewhere on the blade, where it is yellow. After that the colour is a little bit more correct. The photo is too dark, so 2 for the exposure (or brightness in different versions). 3 is for the depths. That will bring more light to the shadows. There is no effect to the parts that are already okay. And last part 4 is for making black to grey. That’s the main work and very easy to do. And now comes the hard part. You could open the photo just like always. But I use SHIFT and then I can open the photo as a smart-object. On the right side of Photoshop you see “Layers”. When you click with your right Mouse-button on the layer you see, that you can make a “New Smart-object as a copy”. Choose that and now you have two versions of the same photo. And that is the only trick. When you double-click on the small photo in layers it will be opened again with Camera Raw. And then I choose 5 for the correction of the colours. In one photo I make the saturation for yellow, green and orange to 0 and the photo is almost black and white. Donw in the right corner is a litte symbol, looks like a square with a circle in the middle. Click and you have a mask in one layer. Now you choose a soft brush with black and you can go over the parts, that you don´t like and they just dissapear. And in the end you have a wonderful photo. If you deleted too much, press x and suddenly you can bring with white the deleted parts back. If you want to see, how it really works, I recommend the book from Scott Kelby “The magnificent seven” Lesson 3 with a BMW: It is the best tutorial about layers and masks I have ever seen. And if you know how to use, when to use and especially why to use layers and masks then you already mastered the first dan in Photoshop-Do. Okay, that´s a little bit too enthusiastic. Third kyu. You can look in youtube, if you can find something with layers and masks, but most explanations are not for beginners. The next time we use a photo from Barry Hennick, theme: “Sharpening” :D Uwe G.

-
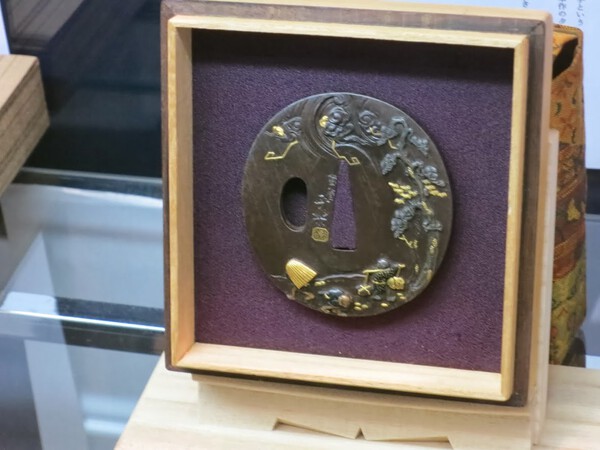
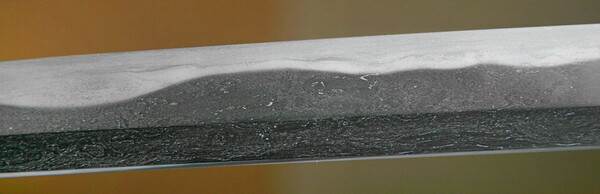
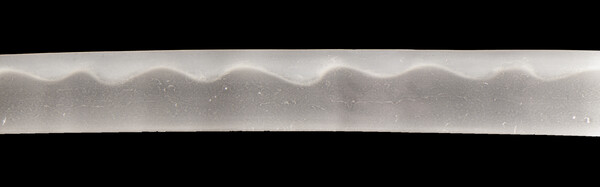
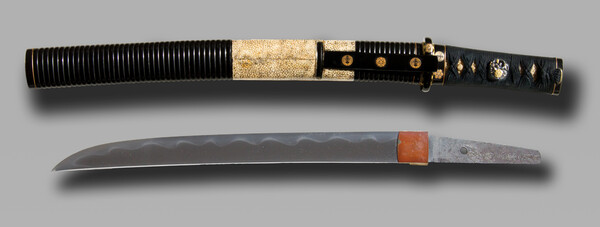
I really think, that this is an outstanding blade with many activities. I just played with one of the photos and here is my version. In case you want to know, what I did, I can make a short tutorial about it. Uwe G.
-
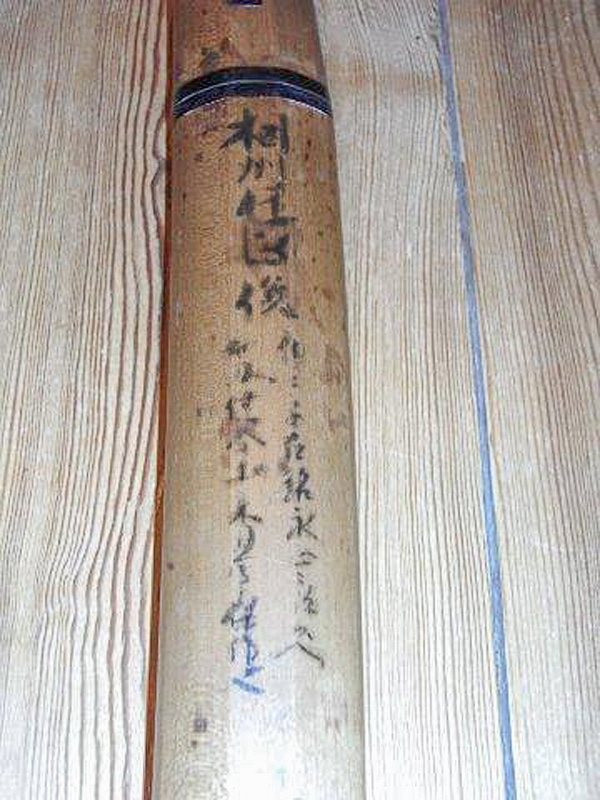
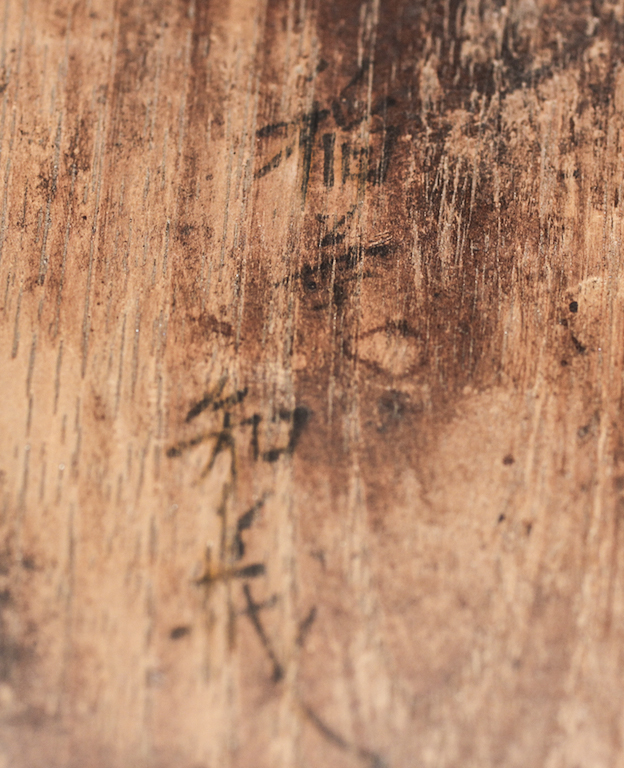
Hi, I hope, this is a little bit helpful when reading the sayagaki. Uwe G.

-
Hi Steve, I tried to make the signature more "readable". Maybe someone can give you the right answer. Or you post a new photo only the signature. Greetings Uwe G.

-
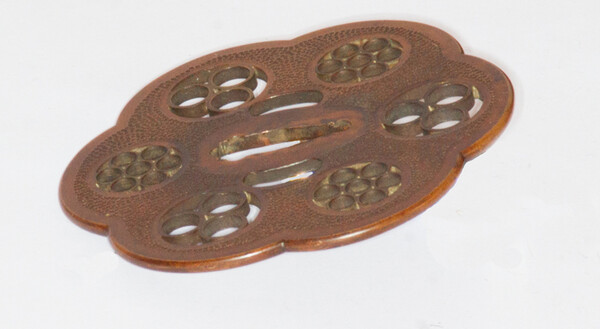
Most of the tsubas are in poor condition. But thank you for the translation. Uwe G.
-
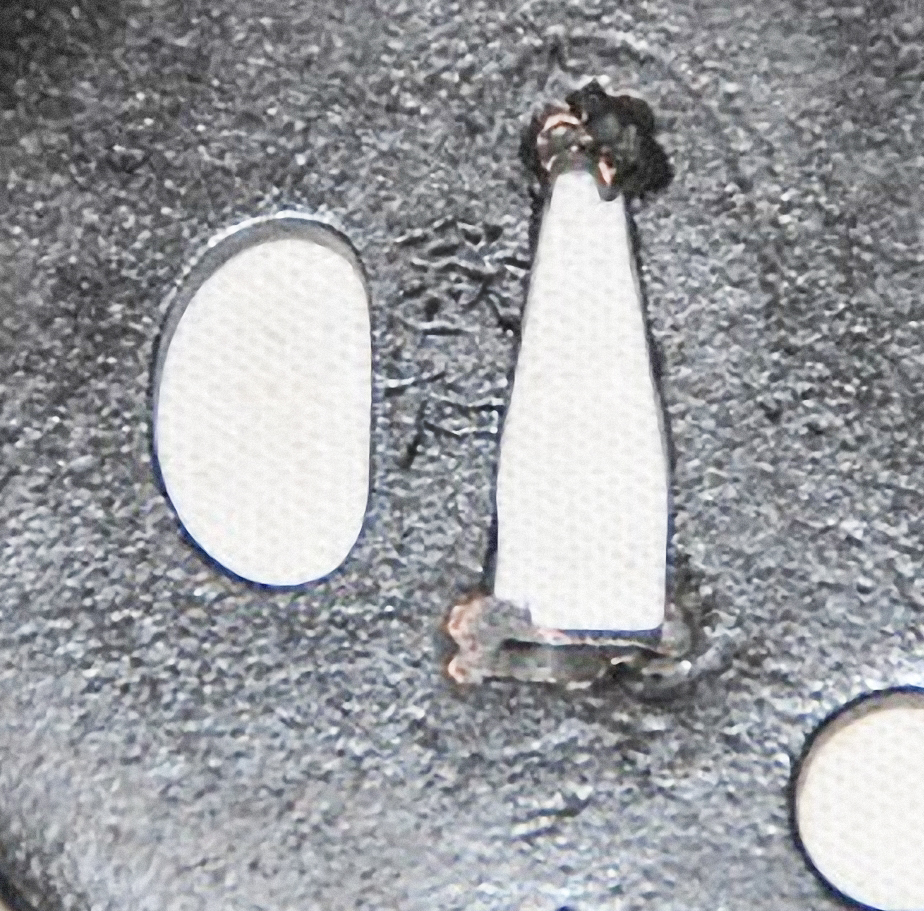
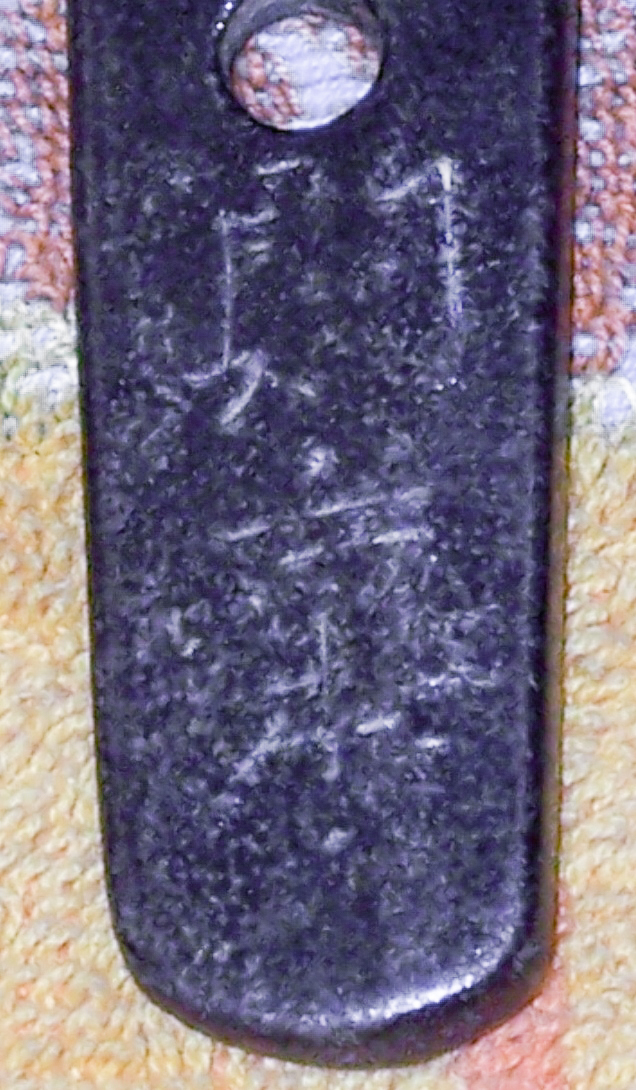
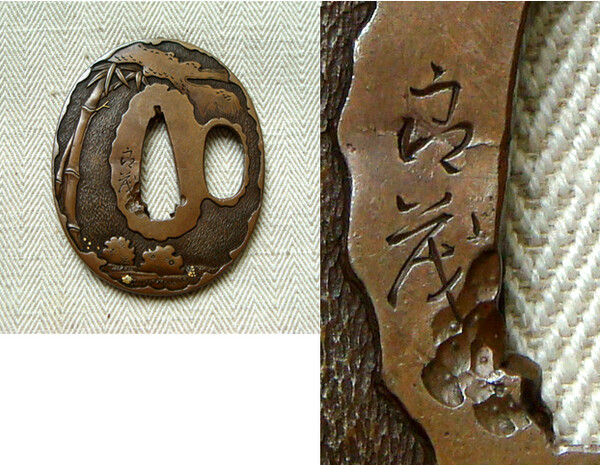
Hi, I got a bunch of twelve tsuba photos for translation. But three I couldn´t translate. One photo was too dark and two I couldn´t recognize the kanji. Maybe someone can help me with the two remaining. Thank you Uwe G.

-
Okay, one from the side. Maybe that gives you a better impression. Uwe G.
-
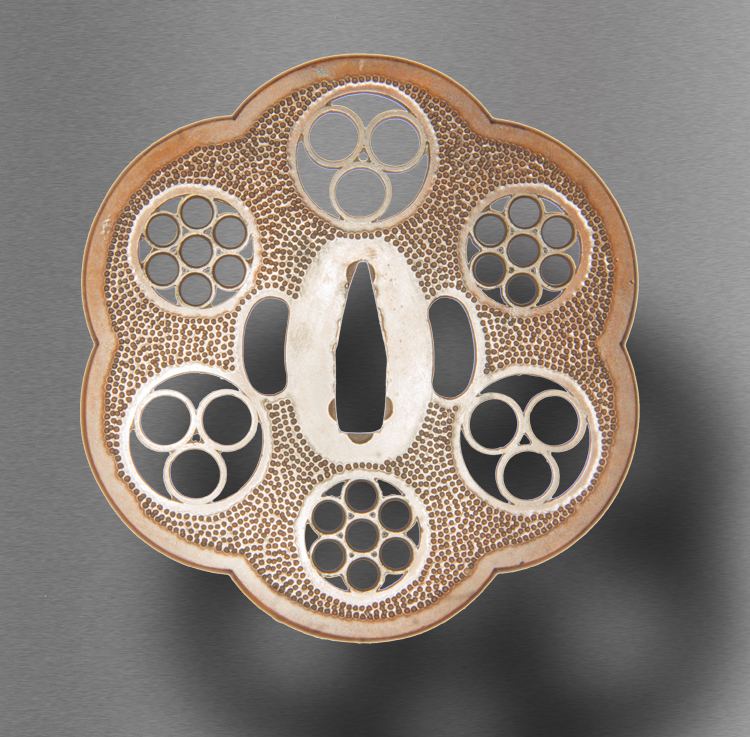
Once again I have to admit that I have not the slightest idea, what kind of tsuba is this. Yoshiro maybe? It would be great, if you can show me light at the end of the tunnel.. Thank you! Uwe G.

-
Okay, I know that this isn´t perfect yet. But the next time it will be. Promised! Kuruma ju Suketoshi: 1865 Uwe G.
-
Whatever it is, it is very faint. Maybe you should really work with chalk. Uwe G.

-
Thank you for your help. Uwe G.
-
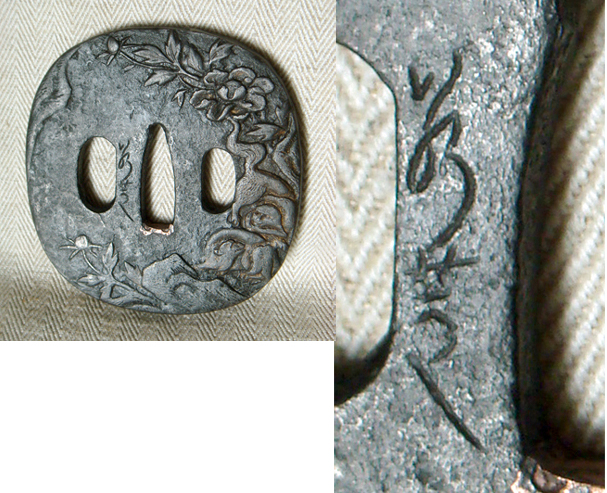
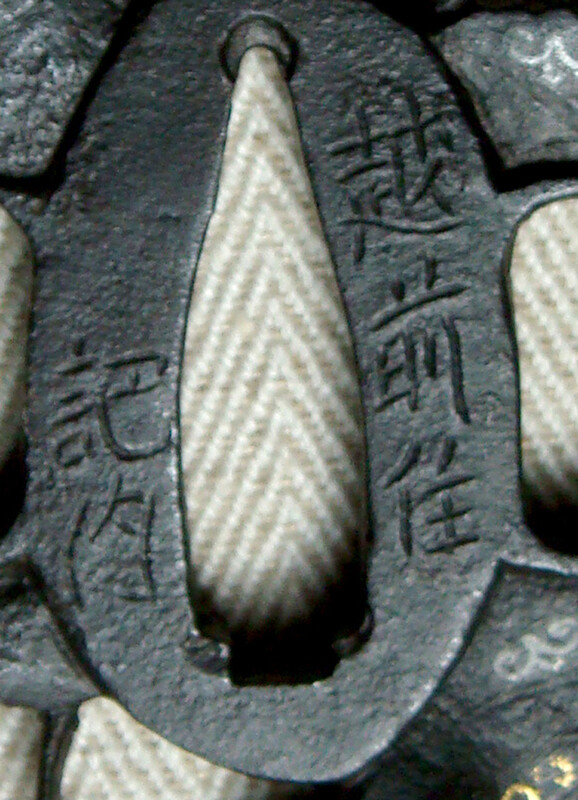
Hi, I am not so fit with tosogu kanji. So I wanted to ask, if I am right. Echizen ju Kazuharu? Thank you Uwe G.
-
Hi Veli, please, send me the link. Either it cannot be found or the access is forbidden. Uwe G.
-
Hi Veli, first of all you should think about the beauty of a Japanese sword and the 4 elements: form, steel, hada, hamon. Question is, what can you see in the picture of yours? Start with the form. Forget the lightning. Then hamon. Then hada. I still try to get the form correct. Greetings Uwe G.
-
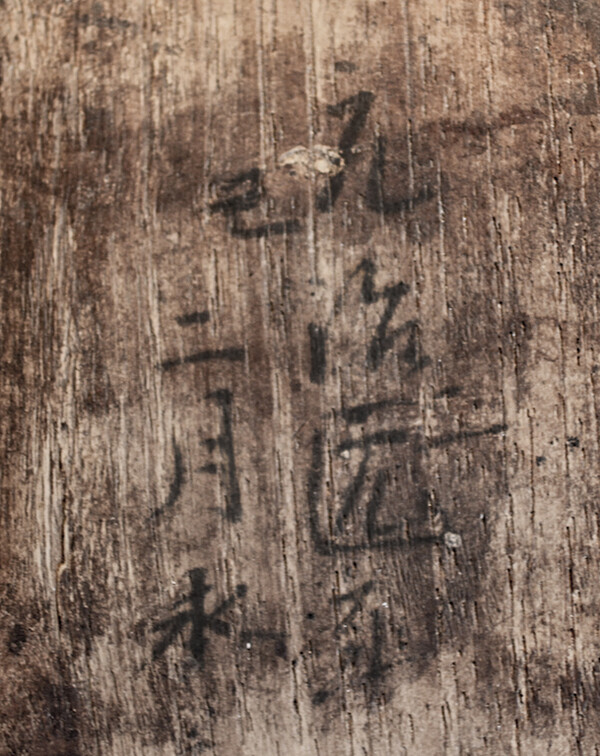
I have a tansu and it is two times signed. I think it is Meiji 2 (1869) second month and 5. generation. After that I am Lost in Translation (again). Any help would be appreciated, thank you. Uwe G.

-
When I see the start site anticahistorica.eu then I see so many legal problems that I´d be suprised if we ever hear from them again. In a positive way. Uwe G.
-
Is it over now? 0 days left and something I can´t read at all. Uwe G.
-
I hope, I got it somehow right. Greetings Uwe G.
-
Okay, I called CSI Wladiwostok. And this is, what I got. Which photo should be enhanced then now? Uwe G.

-
This was just a more or less failed photographic experiment. I will get the tsuba again in my hands and then I hope I can make some more detailed photos. Uwe G.