John C
-
Posts
2,948 -
Joined
-
Last visited
-
Days Won
18
1 Follower

John C's Achievements
")


-
Popularity of Mantetsu-to in Japan
John C replied to Gerry's topic in Auctions and Online Sales or Sellers
Thomas - regardless of the type of steel or if power equipment were used? If so, I could see how focusing on the process rather than the materials or equipment could be be argued as traditional. John C. -
Popularity of Mantetsu-to in Japan
John C replied to Gerry's topic in Auctions and Online Sales or Sellers
The sword came with tons of paperwork, including a torokusho. I was under the impression torokusho could not be issued for non-traditionally made swords. Was this an early exception? John C. -
Very low Showa 26 torokusho registration number
John C replied to Gerry's topic in Auctions and Online Sales or Sellers
Thanks, Jussi. I'm a bit of a stats guy myself so I too eagerly jump into the data rabbit hole myself! In all seriousness, have you thought about compiling tables into a book on the various smiths and their rankings according to the NBTHK? John C. -
WW2 Naval dirk: fibrous material identification?
John C replied to Conserved123's topic in Military Swords of Japan
I have not seen this kind of wrap before (not saying it doesn't happen, I just haven't seen it). I don't think the wrapping methods have changed. The nihonto world tends to resist modern materials and methods in order to preserve tradition. As to the paper, you are correct in that washi is glued to the top and bottom of the tsuka prior to wrapping. This allows the area to be built up to achieve the proper shape when the same (ray skin) is glued to the sides. During wrapping, small traingular folded pieces of paper are tucked under each side of the turned ito to tuck the edges under neath and smooth out the look. All of this (and the placement of the menuki) creates the proper shape so the tsuka fits comfortably in the hand. There should be plenty of videos on youtube, and even a link to a good one on NMB somewhere. John C. -
Very low Showa 26 torokusho registration number
John C replied to Gerry's topic in Auctions and Online Sales or Sellers
That would be interesting to see. Two weeks prior to the actual start date. Might be a pre-flight or test of the program. John C. -
Very low Showa 26 torokusho registration number
John C replied to Gerry's topic in Auctions and Online Sales or Sellers
Just for context, here's one of mine from November 4, Showa 27 (about 1.5 years after the OP) and we are already up to 7,775. Question: Did each Board of Education or Prefecture have it's own series of numbers? John C.
-
WW2 Naval dirk: fibrous material identification?
John C replied to Conserved123's topic in Military Swords of Japan
Luke: In general, cotton, silk, and burlap were used commonly on swords. Have you ruled out asbestos? Just being cautious. Mulberry and washi paper were also used, if that helps. John C. -
Just based off of the difference between the first edition and this info on the title page, is seems Cillo may have taken over as publisher. This could also happen if Cillo owned the rights to the ISBN (i.e., the ISBN was purchased through the publisher and not purchased by the author). John C.
-
Noble, refined, masculine,... kitsch ?!
John C replied to Lukrez's topic in General Nihonto Related Discussion
Sounds like classic sales tactic - selling the emotion and not the product. John C. -
May have been legit at one time, however the removal of the tsuba and alteration of the tsuka to slide it down has really shredded it. Then they added brass fuchi? Used to be real then altered to a worthless state, IMHO. John C.
-
Noble, refined, masculine,... kitsch ?!
John C replied to Lukrez's topic in General Nihonto Related Discussion
Lukrez: Before I generate an opinion, not that mine matters, I just find this topic interesting, to which language are you referring? In other words, are words like masculinity being translated from Japanese into another language or are these words used by the Japanese when describing swords? John C. -
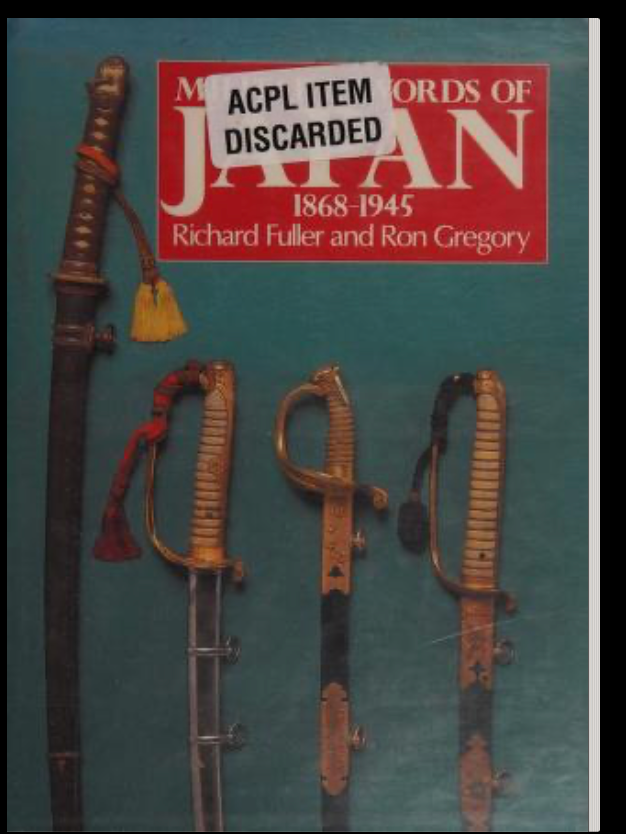
MILITARY books By Richard Fuller & Ron Gregory
John C replied to Rawa's topic in Military Swords of Japan
For anyone that doesn't have the F&G Military Swords of Japan and just needs to look something up, it's on Internet Archive here: https://archive.org/details/militaryswordsof0000full/mode/2up John C.
-
Fake NCO katana, possibly the worst I have seen.......
John C replied to The Blacksmith's topic in Fake Japanese Swords
Darn......guess I'll retract my bid. John C. -
Inherited Gunto Katana in bad shape - what to do with it?
John C replied to Rentokill's topic in Military Swords of Japan
Hello: You could have it polished, however some of those chips are fairly deep. Honestly, with the price of a polish and the amount of damage on the blade, I would just hang it back on the wall and revel in the history of it. Maybe clean the handle with a soft brush. John C. -
Very nice collection - all with the same purpose I believe. The first example in the pic would be a bokuto or chato, however given the context of the others I would guess bokuto. The second and third items are "clubs" in the form of a fan and extra heavy kiseru. At one point, the extra heavy kiseru were becoming prevalent as weapons so they were banned. Instead, folks would carry large and heavy yatate as a substitute. John C.